
Are you thinking about replacing your patio screen door? It’s a project you can definitely do on your own. With the right tools and instructions, it’s simpler than you might think. This guide will help you step by step. Also, doing it yourself means you can work at your own pace. You don’t need to wait for professionals. It can save you both time and money. If you are unsure about tackling the task alone, consider patio screen door repair & replacement in inland empire ca, for professional help. So, let’s dive into how you can tackle this project with confidence. With patience and careful effort, you will master it.
1. Essential Tools For Patio Screen Door Repair & Replacement:
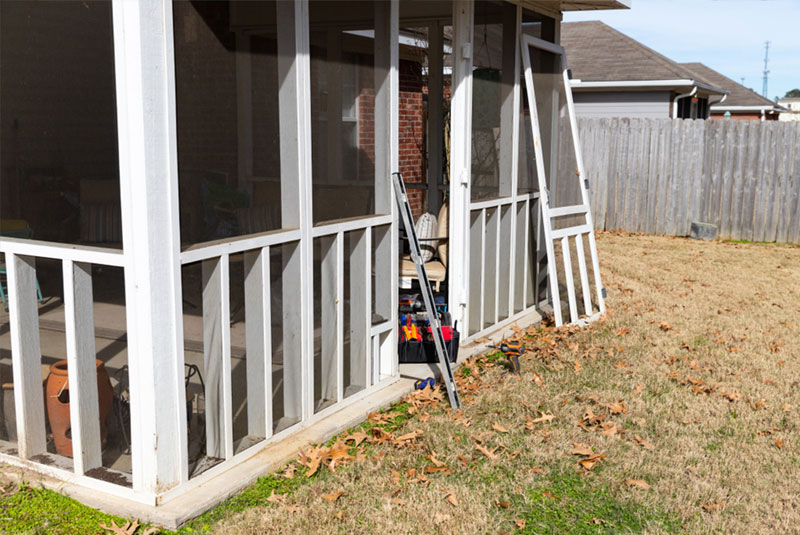
First, make sure you have all the necessary tools and materials. You will need a new screen, spline, spline roller, and a utility knife. A screwdriver might also be handy. Additionally, have some clear workspace ready. It’s best to work in an area where you have room to move around the door easily. This setup helps in handling materials better and makes the process smoother.
2. Remove The Old Screen Door:
Start by taking the old door off its track. Usually, you lift the door slightly and pull the bottom out. Place the door on a flat surface. Next, check if any screws are holding the frame together. Some doors have these, and removing them might be necessary before you can replace the screen. If you’re considering professional help, patio screen door replacement services Inland Empire CA can offer quick and efficient assistance. Once the frame is ready, you can proceed with confidence, knowing you’ve prepared well for the new screen installation.
3. Take Out The Old Screen:
Use your screwdriver to pry out the spline that holds the screen in place. Once removed, the old screen should come out easily. Be gentle during this process. This way, you won’t damage the frame. Damaged frames are harder to work with when you put in the new screen.
4. Measure Your New Screen:
Measure the door frame’s height and width. Add two inches to each measurement. Cut your new screen to these dimensions. It’s important to have these extra inches. They help ensure that you have enough material to work with during the fitting.
5. Lay The New Screen Over The Frame:
Spread the new screen over the door frame. Make sure it covers the frame completely. Align the screen so that it is even on all sides. This step is crucial for a tight fit later on. Achieving this perfect alignment ensures that your door functions smoothly without any snags. For those who want to ensure perfection, seeking the best patio screen door repair near Inland Empire CA can provide expert guidance and service. They can help make sure your screen fits just right and functions beautifully.
6. Insert The Spline:
Using the spline roller, press the spline into the groove of the frame. It secures the screen. Work slowly to avoid wrinkles. If you rush, you might have to redo it, which takes more time. Be consistent with your pressure to get an even fit. Also, it will help the screen sit tightly against the frame. So, a tight, even fit keeps bugs out and makes the screen look great.
7. Trim Excess Screen:
Once the spline is in place, trim the extra screen. Use your utility knife, and be careful not to cut the new screen. Take your time here. A clean cut will make the final product look professional. Also, ensure no excess material sticks out from the edges. Excess material can snag and tear, ruining the look and function. So, trimming carefully will give your screen door a neat, finished appearance.
8. Check Your Work:
Make sure the screen is tight and free of bumps or waves. The door should look neat. Inspect the corners especially. So, these often show if the screen isn’t fitted properly. A well-fitted screen not only looks good but also performs better in keeping bugs out. If you need help or feel unsure about the installation, patio screen door repair in Inland Empire CA can assist. Their expertise can help ensure that your door is both attractive and functional, enhancing the comfort of your home.
9. Reattach The Door:
Now, put the door back on its track. It should slide easily and fit well. Be sure it’s secured and doesn’t wobble. A stable door lasts longer and works better. Also, test the door several times. Moreover, make sure it opens and closes without any issues. Adjust the rollers if needed. So, proper adjustment prevents the door from sticking or dragging. It ensures long-lasting function and ease of use.
10. Final Adjustments:
Check the door’s alignment. Make any needed adjustments to ensure it closes properly. Sometimes, the tracks need cleaning. It can help the door slide more smoothly. Also, check if the lock aligns with the frame. Additionally, verify that all screws are tightened. Moreover, loose screws can cause the door to hang incorrectly. Properly aligned screws will ensure the door operates smoothly. Furthermore, lubricate the hinges and tracks. So, this step helps reduce friction and wear over time.
Conclusion:
Replacing a patio screen door yourself is quite possible. It saves money and gives you a sense of accomplishment. Just follow these steps carefully. Soon, you will enjoy a beautiful, bug-free view from your patio. This guide not only helps you with a practical task but also enhances your home’s comfort and appearance. Always remember that careful planning and attention to detail will lead to the best results. For those feeling hesitant, patio screen door repair & replacement in inland empire ca offers expert help. Happy fixing! Also, you’ll feel proud every time you look at your work. So, knowing you did it yourself is a great feeling!